You know that sinking feeling when you’ve whittled a majestic Pal down to a sliver of health, you’ve lined up the perfect throw, and then… poof. It breaks free. Not once, not twice, but five times in a row. Oh, I’ve been there. In the sprawling, chaotic beauty of Palworld, I used to think catching the best Pals was just a cruel lottery. My bag of basic spheres felt like chucking wet napkins at demigods. But after countless hours—and even more broken spheres—I started to treat the capture system not as an enemy, but as a grumpy little puzzle. And let me tell you, once you learn its language, the game changes entirely. There’s no magic "win" button, but I got my capture rate so close to perfection that the RNG itself seemed to sigh in defeat. Here’s exactly how I did it, straight from the trenches.
The Dance of the Red Health Bar
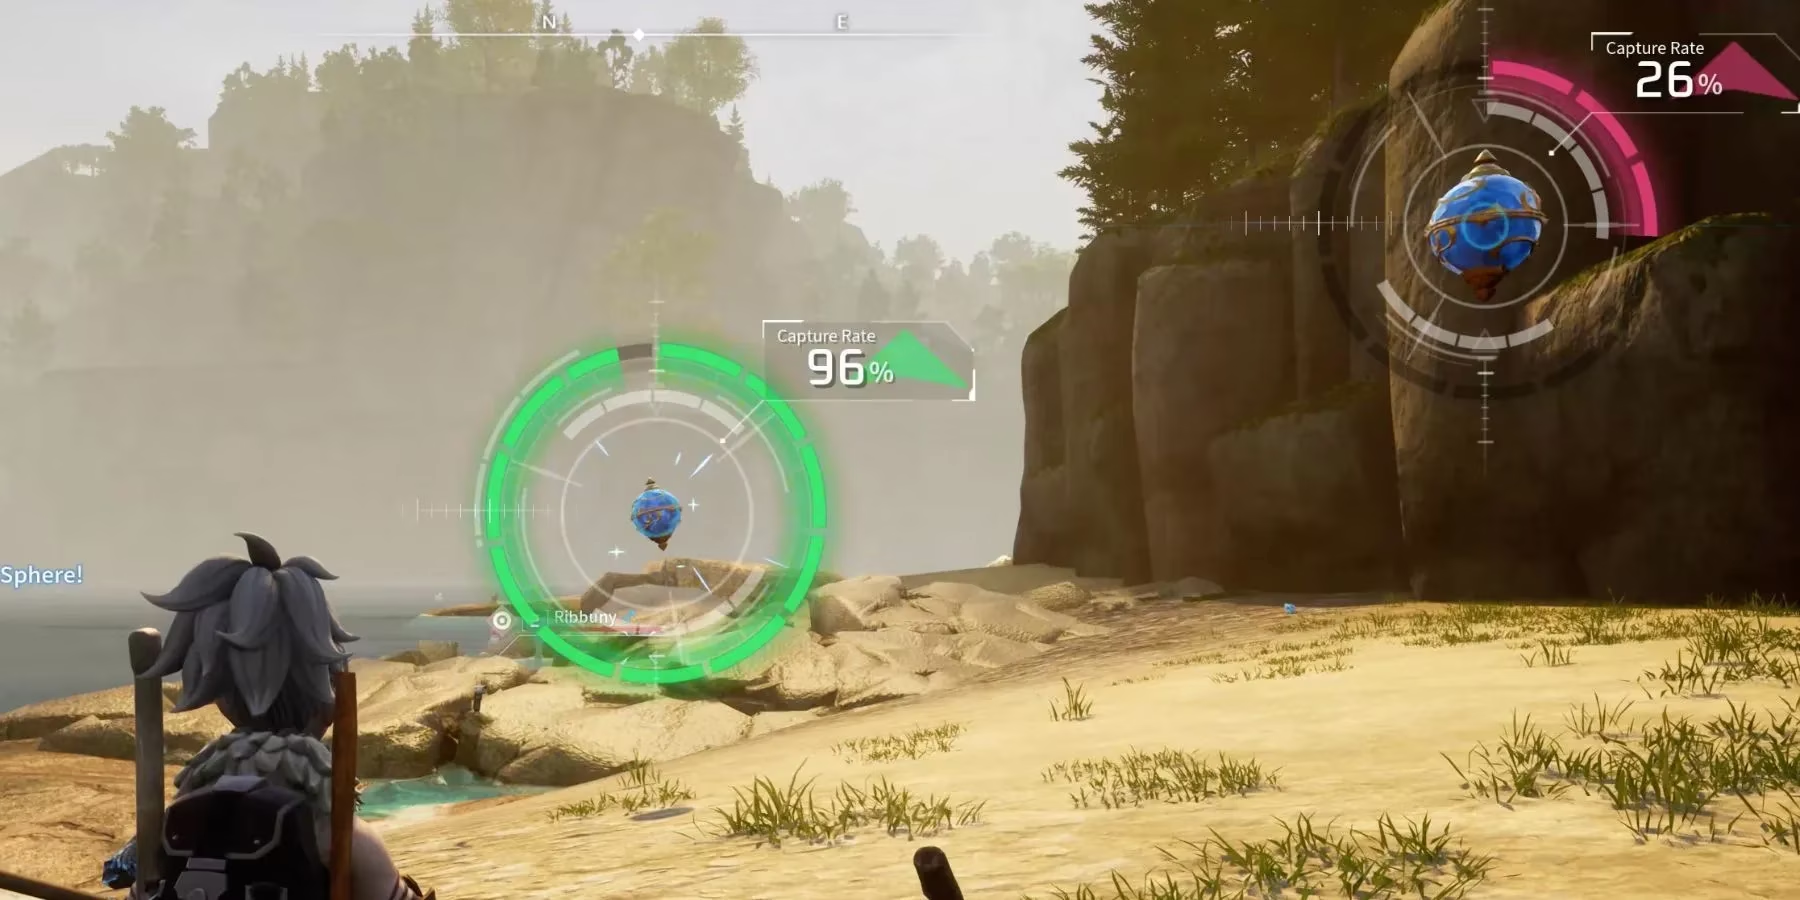
First thing I had to learn? Pals are stubborn, but even the mightiest Relaxaurus gets humble when it’s staring at its own mortality. The capture rate system in Palworld has one golden rule: health, or rather, the lack of it. I spent my early days sheepishly tossing spheres at full-health creatures, hoping my charm would win them over. Spoiler: it didn’t. Now, before I even think about reaching for a sphere, I start a very delicate dance. I pull out my trusty sword or bow (something that won’t turn my future friend into a pile of resources) and I chip away. The goal is to get their health so low that the bar is practically invisible—somewhere in that terrifying 1-5% range. It’s a bit nerve-wracking, I’ll admit. I’ve lost count of how many perfect candidates I accidentally sneezed on with a critical hit, sending them to the great Palbox in the sky. But when you find that sweet spot, when the creature is panting and on the verge of tapping out, that’s when a simple Pal Sphere suddenly starts looking mighty convincing.
Bulking Up My Sphere Arsenal
Of course, even a nearly-dead Pal will laugh at a basic sphere once you hit the mid-levels. This is where the real progression kicks in, and boy, is it satisfying. My first major breakthrough was unlocking the Sphere Workbench at level 14. It felt like graduating from a slingshot to a cannon. Suddenly, I wasn’t just a survivor; I was a collector. The crafting system for these spheres is a whole journey in itself, culminating in some truly legendary tools:
-
Mega Sphere (Level 14) – My first real upgrade. It felt like going from a plastic spoon to a proper net.
-
Giga Sphere (Level 20) – This one starts to make mid-tier Pals think twice.
-
Hyper Sphere (Level 27) – Now we’re talking. The game’s world opens up.
-
Ultra Sphere (Level 35) – A serious power spike. Resource-intensive, but absolutely worth it for the stubborn beasts.
-
Legendary Sphere (Level 44) – The crown jewel. Crafting one feels like a small ceremony.
I learned to match the tool to the task. There’s no sense wasting a precious Ultra Sphere on a lowbie Lamball, unless you’re just showing off. But when a rare, high-level Pal has been dancing on the edge of consciousness for ten minutes? I don’t hesitate. I reach for the best sphere I can craft. The capture rate jump between each tier is so significant that it often flips a 20% chance into an 80% one. Do the math, and you’ll see that farming the extra materials for a better sphere is almost always more time-efficient than burning through ten inferior ones, watching your target wiggle free each time. That's a lesson that cost me a fortune in Paldium Fragments, let me tell you.

The Little Green Secret That Changed Everything
Now, for a long time, I thought that was the whole story. Use the right sphere, get the health down. Simple, right? Nope. There was an entire layer of the capture system hiding in plain sight, and it involved those strange little green statues scattered everywhere: Lifmunk Effigies. At first, I thought they were just quirky world decoration. I’d pick one up, glance at my inventory, and promptly forget about it. What a fool I was. These aren’t just collectibles; they’re an offering.
After unlocking and building the Statue of Power (a humble structure costing 20 Stone and 10 Paldium Fragments), I discovered I could sacrifice these effigies at the statue. The interface didn’t exactly shout its importance, but once I fed it a handful of those glowing green figurines, I checked my capture stats and… wow. Just… wow. It’s a permanent, account-wide boost to your capture power. No timer, no gimmicks. Just a silent, massive improvement that shifts the base odds in your favor before you even throw the sphere. It’s like the game was suddenly rooting for me.
I went on a rampage after that. I dedicated entire play sessions just to hunting these effigies. Clifftops, forgotten ruins, behind waterfalls—those cheeky devs hid them everywhere. Each one I offered felt like a tiny prayer to the gods of RNG, and they were finally listening. This, combined with a top-tier sphere and my careful health-depletion dance, turned me into a capture machine. The days of wanting to throw my controller across the room because a 95% chance failed twice in a row… well, they still happen. This is Palworld, after all. But they went from "regularly infuriating" to "a mildly amusing story I tell my friends."
So, take it from someone who has been on both sides: respect the health bar, invest in the best spheres you can make, and for the love of all that is Pal, hunt down those Lifmunk Effigies. Your future team of terrifyingly powerful, perfectly caught Pals will thank you.
Loading comments...